Distressed Obsessed

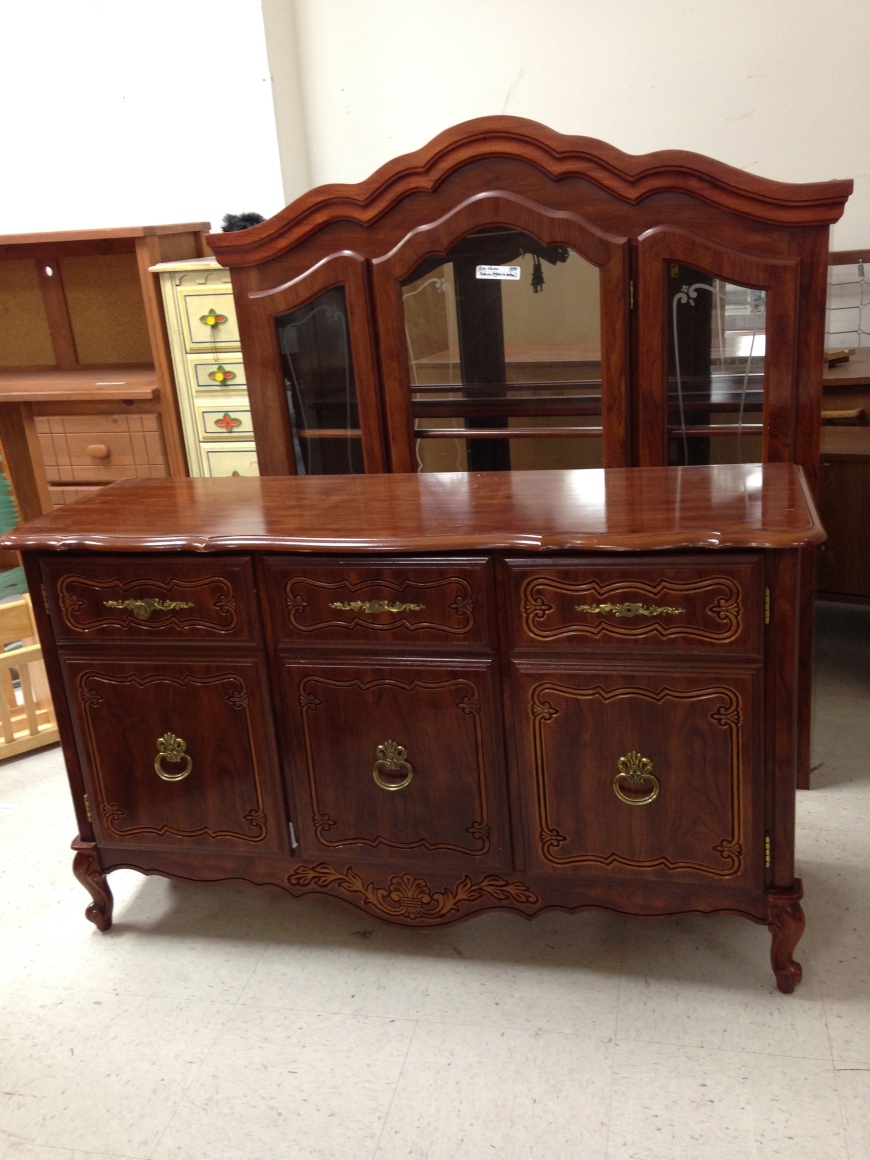
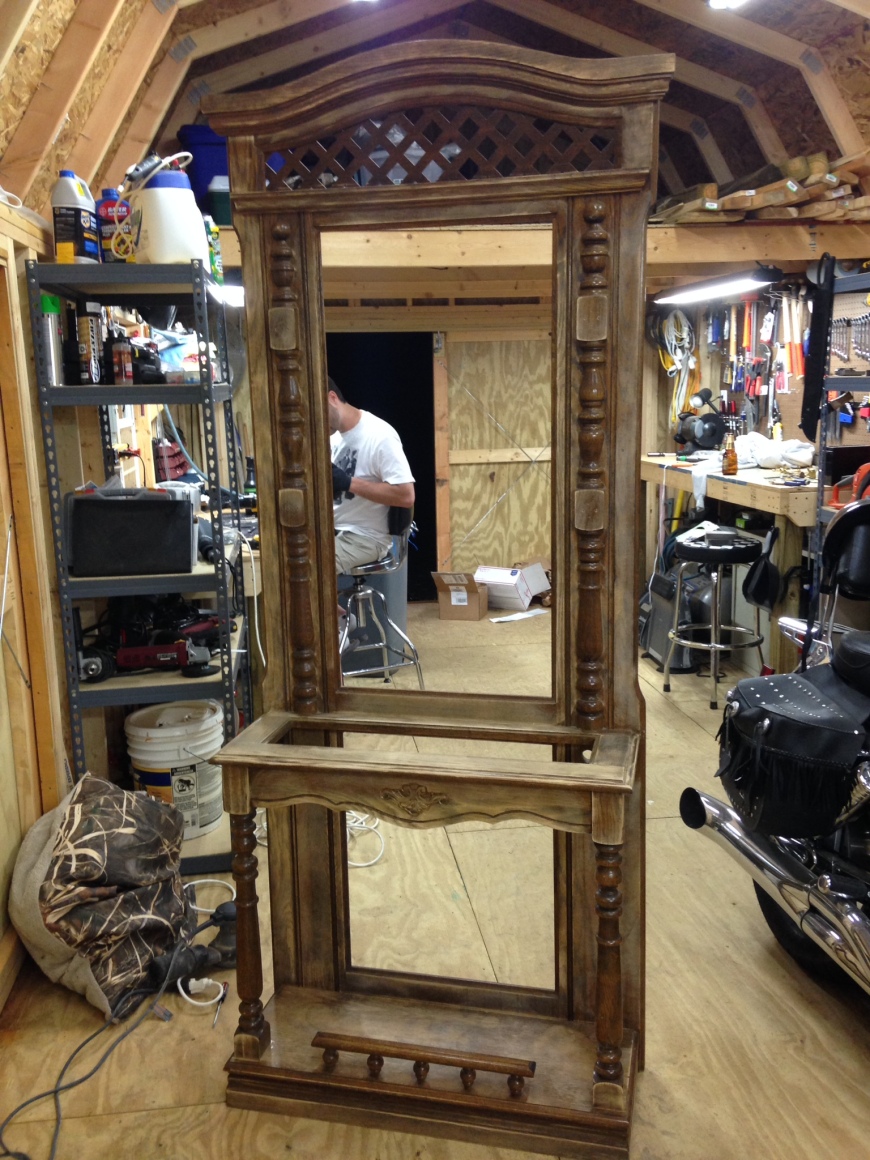
I mentioned in my last post that Goodwill is a great place to find lots of Oldies but Goodies, especially for those late night De-Stressing projects.  I’ve been spending a ton of time at the Goodwill these last few months and seem to be hitting the jackpot lately.  Another exciting find – an entryway piece.  Here is my bundle of amazingness that I scored for $130.  Drum roll please….

photo 1

Ta-DA!

Oh, come on…THAT is the piece you fell for at the Goodwill?  That is pretty ugly.  I’m fairly certain that piece would go great with a puke orange shag carpet and a pair of bell-bottom jeans!  Yes, yes, I know but oh the potential.  Again, when looking for furniture to distress, the absolute best pieces have lots of grooves and details.  That little orbital sander LOVES chipping paint off every little detailed crevice.

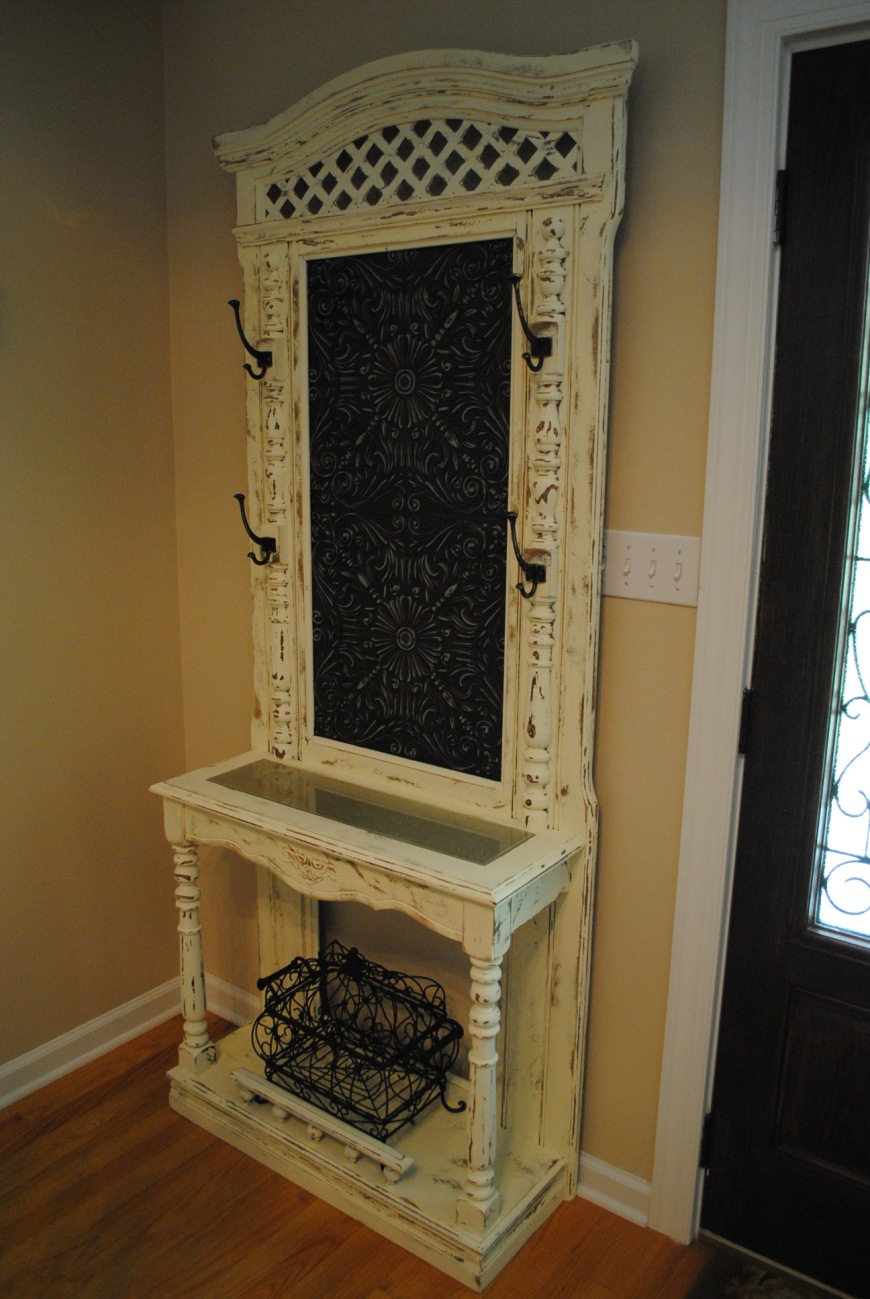
This piece was real wood which made my job so much easier.  No priming needed and very minimal sanding.  I used the same recipe for chalk paint as my previous distressing project.  Here is the final product.

photo 2 photo 3
DSC_1360

The mirror included with the furniture seemed too blah to me.  BORING…plus, I have been working really hard to conquer my fear of color.  For some reason, my eye always goes to the most bland and neutral earth tones and that is what I end up decorating my house with.  I still love neutrals but a pinch of turquoise in the ceiling tiles I found online seemed to be the perfect compromise.  This project called for two tiles which I found on Amazon for a whopping $30 total.  Although, when my tiles arrived at my doorstep, they were turquoise.  Like super turquoise.  Like BAM all you see is turquoise.  No problem…nothing a little spray paint wouldn’t fix.  I sprayed the tiles with left over oil rubbed bronze paint and sanded the details so that the turquoise showed through.  I accomplished my color goal but also still stayed with my earthy taste.  I’m in love.  The wrought iron basket on the bottom shelf of my new and improved piece is also from the goodwill…$5.

 

Wine Down and De-Stress

Oh hey there blog…nice to see you again.  Finding time to jot down a few thoughts or, perhaps, completing a project, are few and far between these days.  This life as a mom, a new mom, is the best thing that has ever happened to me (other than the day I married my amazing husband of coarse), but, leaves just scraps of time for myself.  If there is anything I have learned these last 10 months as a new mom, it is the importance of making time for yourself.  A warm bath with a glass of your favorite cabernet, an ice cold beer and a large slice of pizza (or a whole large pizza for that matter) or simply a quiet 30 minute drive ALONE with no baby.  Whatever that looks like for you girl, DO IT.  It is important to have a “mommy-vacation,” away from your husband and child…time that is all about YOU.  For me?  It’s finding time to do my projects.  I call it my “wine down and de-stress” time.  This usually happens at night, after the baby goes to bed, in the garage with loud inappropriate music (Miley…don’t judge), a nice glass of red or an ice cold beer in hand, something ugly and a paint brush.

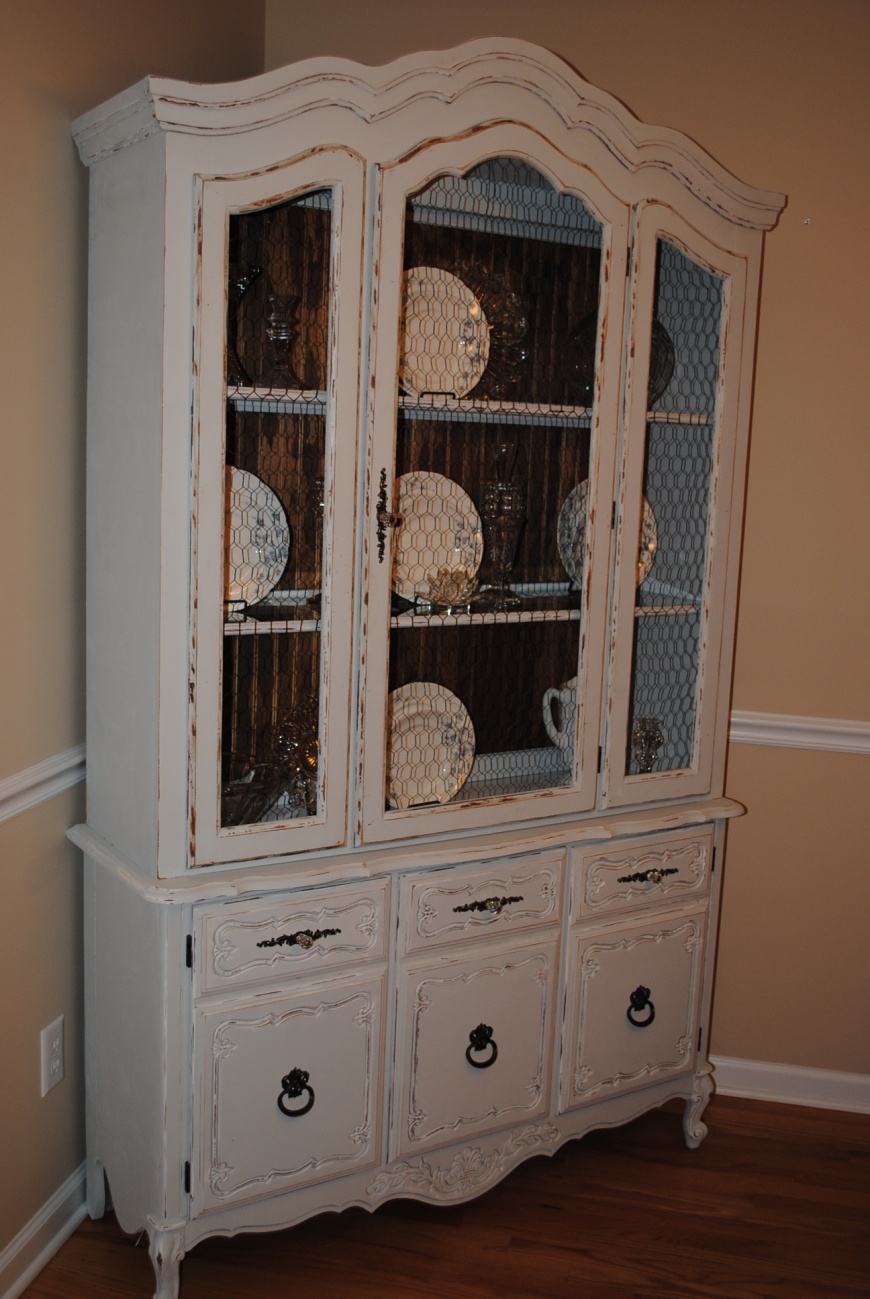
This is the best time of the year to stop into the Goodwill.  Rich people are doing their yearly “Spring Cleaning” and giving amazing things to the Goodwill.  Or, ugly things that have serious potential.  Take this china cabinet for example.  It’s not horribly ugly, just…well…it’s pretty ugly.  I loved the detail on the doors.  “Hunny Dearest…I’m ganna need your assistance with driving 30 miles (one way) with the trailer…load the china cabinet I just bought for $99…on your day off…OH, and I am going to need the garage for about a month…THANKS!”  This guy must love me in spite of some of the silly things I ask him to do.

IMG_5632

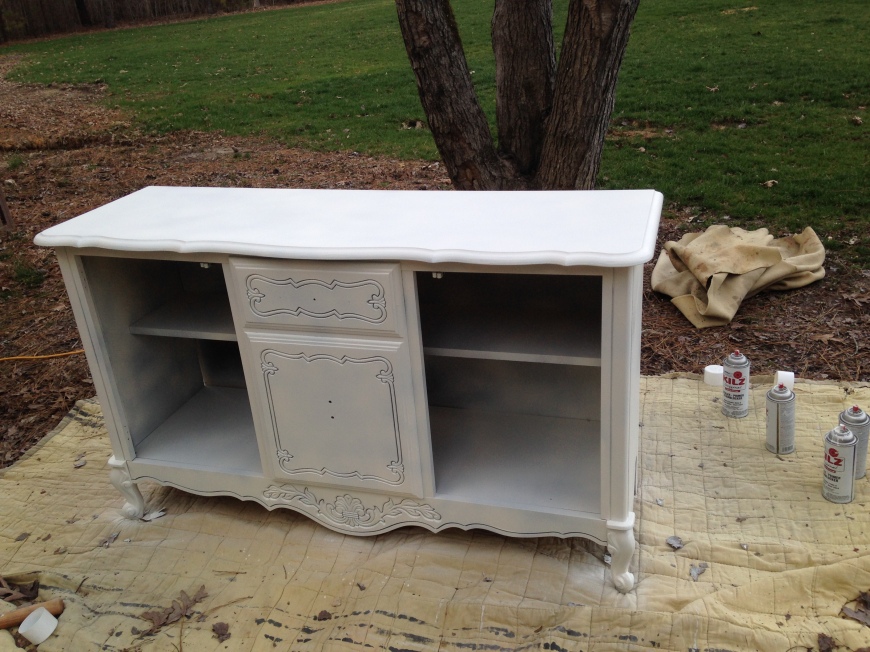
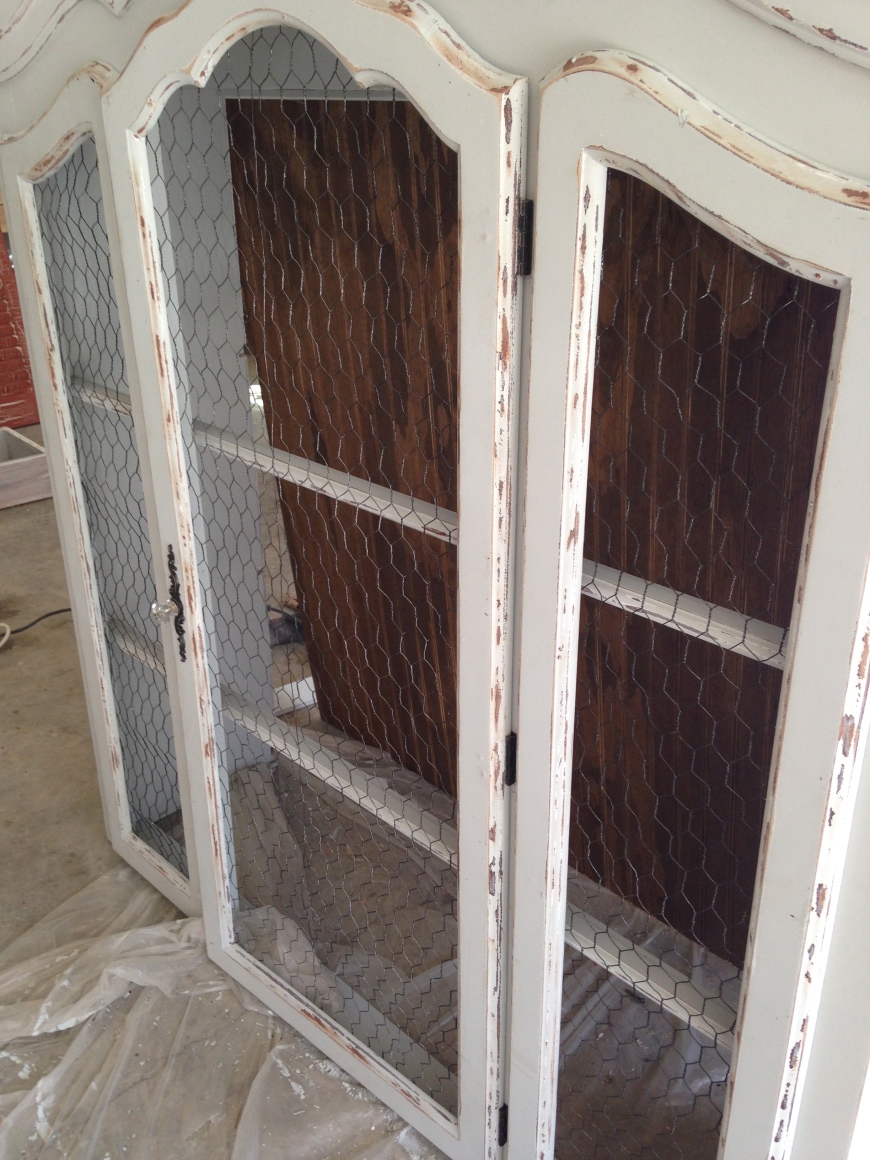
First things first…this china cabinet is pressed wood.  No problemo!  Nothing a little primer wont fix.  I removed all the hardware, glass and the back of the top piece and lightly sanded.  The orbital hand sanders work the best for projects like these.  It is important to lightly sand furniture you are restoring so that the paint has a grip to stick to.  Next, the priming.  Super easy, I used the spray paint kind.

IMG_5709 IMG_5708

Once you are all primed, it’s time to paint.  I found that the small paint rollers worked best for this project.  Of course, you use a paint brush as well for the fine details in the cabinet.  Annie Sloan’s chalk paint…one word for ya…DON’T!  Its like $50 for a small can.  No offense to those that love this stuff, but its is so much cheaper and WAY easier to make your own AND you can use any color paint you want.  Annie Sloan only offers a few colors to choose from.  Here is the recipe I used:

Brittany’s Redneck Chalk Paint Recipe
  • 1/2 cup of warm water
  • 1/2 cup of Plaster of Paris (can be found at any hardware store)
  • 1 cup of any color and finish of paint you want
mix well…and paint.  Yes folks, it’s that easy.  A monkey could make this stuff…heck, my 10 month old could make this stuff!

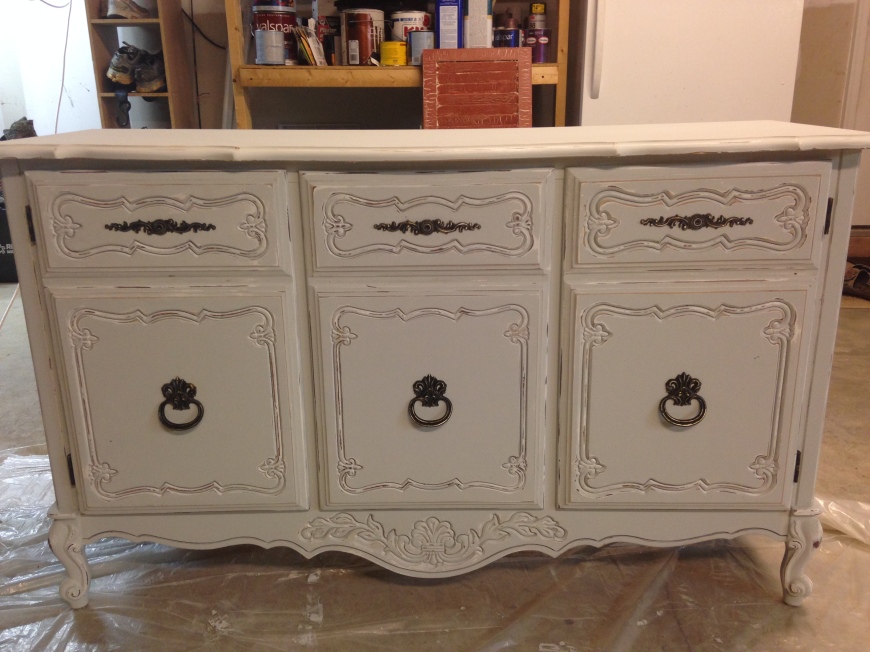
Two coats of paint is all I did.  Let dry over night.  Now the fun part…the sanding.  Turn that handy dandy orbital sander on and start lightly sanding all edges and details.  Anyone can do this step as well.  It really does’t matter if you go hog wild or stay conservative with the sanding.  It looks good either way.  The end goal is to make this project look ridiculously old.

For my china cabinet, I removed the back of the top piece and added a piece of waynes coating that I stained a darker walnut color.  I liked the idea of contrast.  Also, instead of adding the original glass back to the top piece, I added chicken wire that I spay painted oil rubbed bronze.  BOOM – a china cabinet makeover that is much more contemporary.
IMG_5836 IMG_5848
DSC_1143 DSC_1145
My matching china pattern also came from the Goodwill in under $20.